Open Media Vault (OMV)
Categories:
5 minute read
Goal
This sets up a Raspberry Pi as a NAS
It uses Open Media Vault and some USB attached disks
The host OS is Raspbian running on Raspberry Pi hardware (Raspberry Pi 4 4 GiB running Pi OS Lite.)
This project will install the Open Media Vault (OMV) NAS server onto a Raspberry Pi computer.
Prepare the Raspberry Pi
OMV does not support a desktop Pi OS
You must use a wired network connection; by default OMV will disable Wi-Fi
As this will be a server in your environment that should be addressed on a reusable value it’ll be good practice to set a static IP and/or a hostname that is resolvable in your environment.
Make sure your Raspberry Pi is up to date and running the latest packages.
sudo apt-get update -y && sudo apt-get upgrade -y
Install Open Media Vault
The install is quite direct. You SSH into the Pi and run the following command. It will take a few minutes (about 10-15) and it should reboot the Pi automatically.
sudo curl -sSL https://github.com/OpenMediaVault-Plugin-Developers/installScript/raw/master/install | sudo bash
First time connection and change admin password
Open an HTTP connection to your OMV installation and logon use the following default credentials:
username: admin
password: openmediavault
OBS! Change your password by going to to user settings and change your password
Add existing or new disks
You can attach disks already formatted with a file system and holding data or start with new blank disks.
Add existing disks and file systems
This presume your disk is already formatted with a file system and has data.
- Under
Storage | Diskscheck the disk is listed. - Under
Storage | File Systemschoose tomount an existing file system. - Under
Storage | Shared Foldersadd a new share- Give it a name
- Select the target file system
Create a new disk file system
- Under
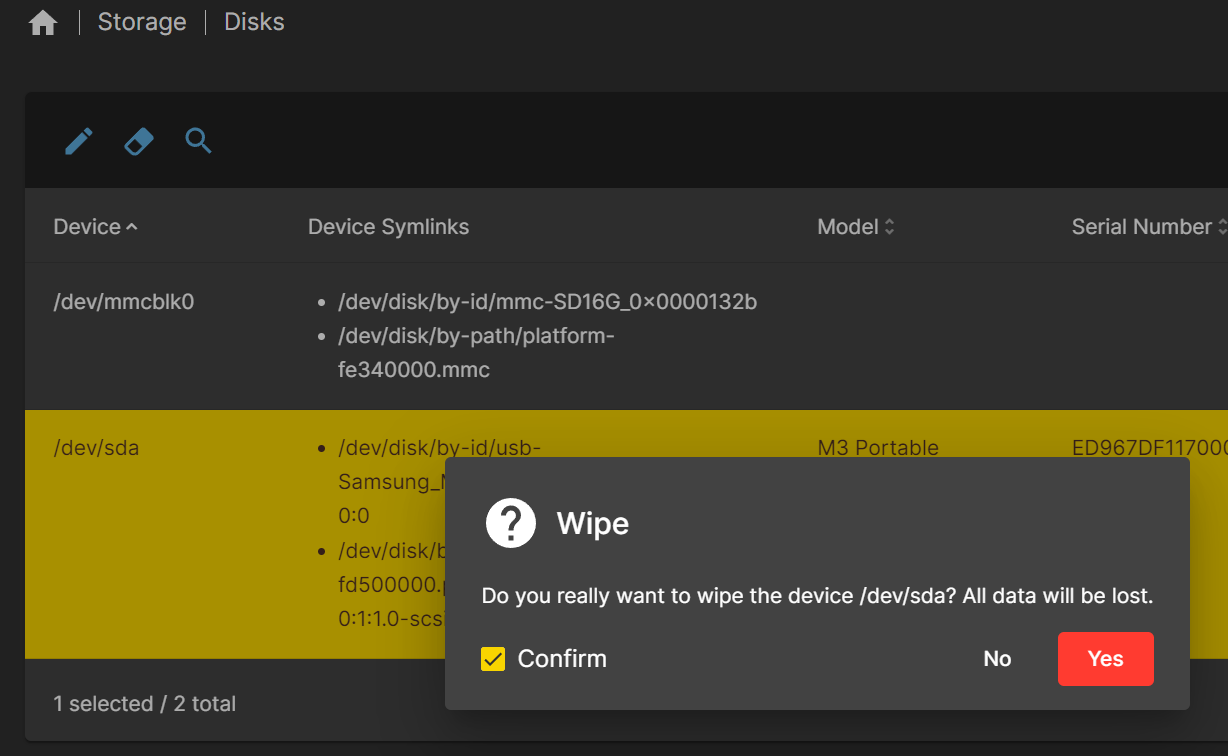
Storage | Diskscheck the disk is listed. - You may want to wipe the new storage so you have a known starting point. To do that in the
Storage | Diskssection select the disk and choosewipefrom the menu. Choosequickorsecuredepending on how much time you have.
Create a new file system
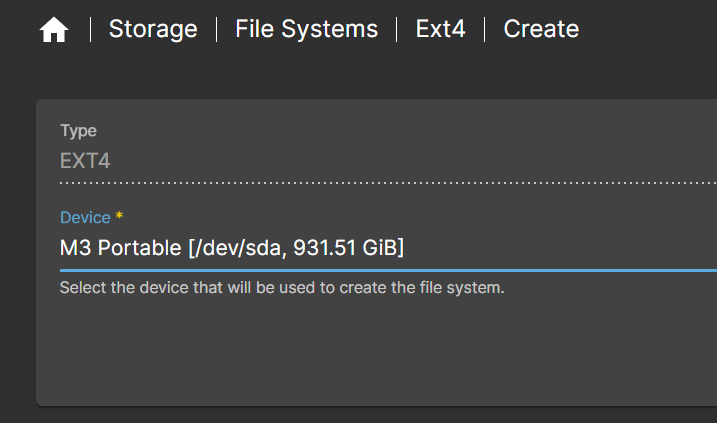
To create a file system, which is required prior to making a share, go to the File Systems section. Assuming this is a new disk you will choose to Create and Mount a File System. There are a lot of file system types, but as I’m using this for general purpose files I will choose EXT4. Select the disk you want to create the file system on from the drop down and click Save. The file system will now be created which could take a few minutes based on the size of the disk you are using
When the file system is created you’ll be prompted to mount it. So select the File System and enter a tag if required so you can identify it later.
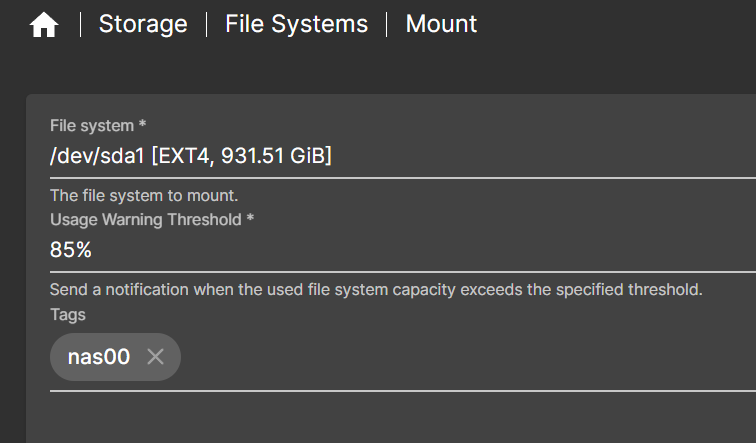
Now Save & Apply the changes.
You may face some challenges with the partition tables being the wrong size and other settings. There are too many to document. So read the error and proceed based on your knowledge. Just be sure that the disk you are using has no data on it so the worst that could happen is you waste time fiddling about with disks on a Linux command line.
Enable SMB/CIFS file sharing service
This is the service required to access the share from Windows (SMB) or Linux (CIFS). Under the Services section go to SMB/CIFS then Settings and put a check in the Enabled box.
Now Save & Apply the changes.
Create SMB/CIFS shares
With SMB/CIFS enabled we can attach the Share. Under the Service section go to SMB/CIFS then Shares and create a new share. From the dropdown select the share created earlier. There are other options here you can configure as required.
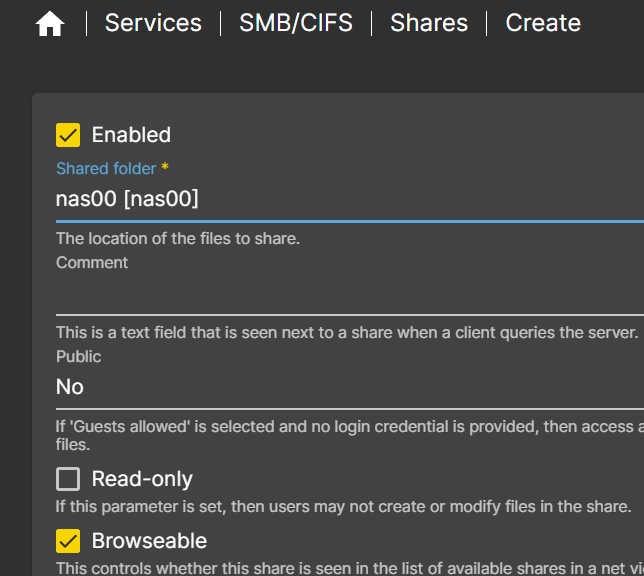
Now Save & Apply the changes.
Manage users and permissions
You can lock down access to shared folders by creating users and assigning permissions.
Nobody has permissions to the share. By default only one user will exist with access to the OVM service which is Pi. You could use this user to access your share but if you follow least priviledge then you should proably opt for users and groups to manages permissions.
Under User Management go to Users and create a new user. There are a few options, but the required are:
| Setting | Value |
|---|---|
| Name | The username |
| Password | The password |
Now go to Storage then Shared Folders and select the share. From the menu choose Permissions to edit who can access the share. Select the new user and choose Read/write, Read-Only or No access.
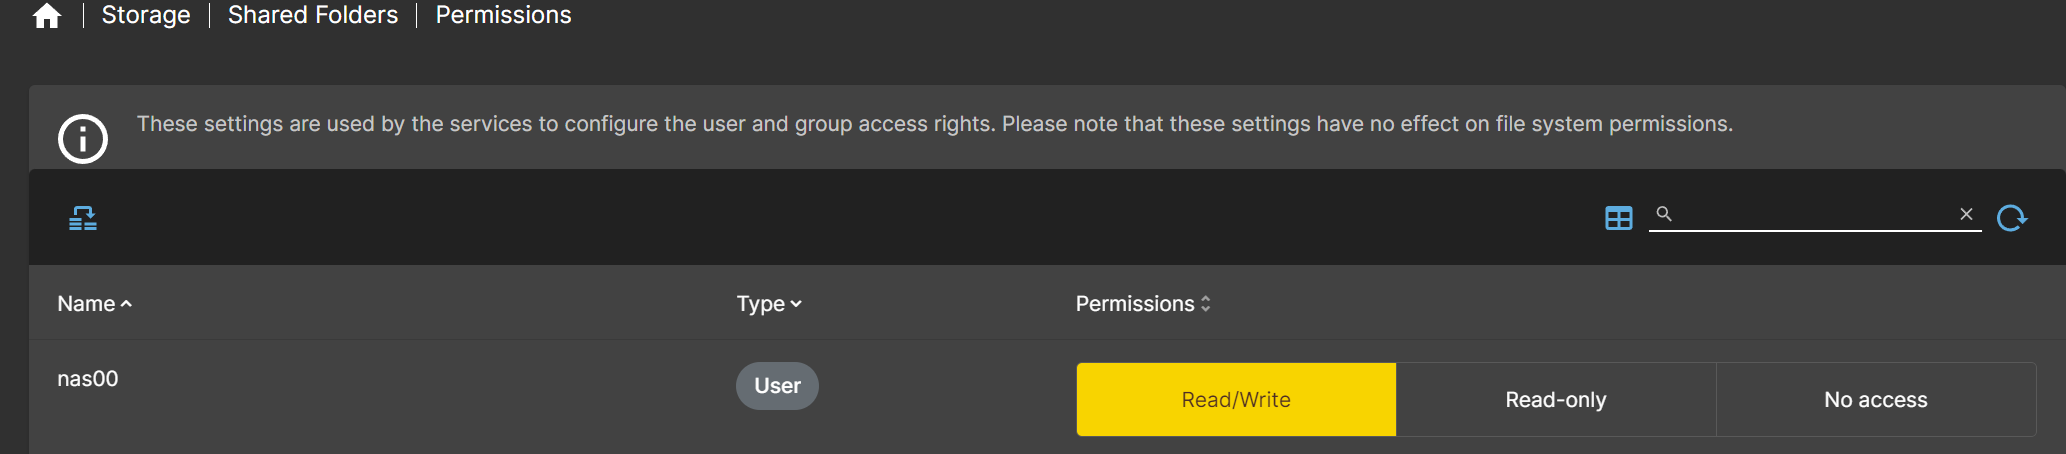
Now Save & Apply the changes.
These settings are used by the services to configure the user and group access rights. Please note that these settings have no effect on file system permissions.
Access the share
To access the share from Windows, in an Explorer session choose to map a drive and use the path \\192.168.0.111\share01 replacing the IP and sharename with your own. When prompted to authenticate use the user credentials created earlier.
SMTP notifications
Under notifications you can configure an outgoing SMTP setup so the OMV server will email you. For Gmail I set it up as such.
| Setting | Value |
|---|---|
| SMTP server | smtp.gmail.com |
| SMTP port | 587 |
| Encryption mode | STARTTLS |
| Sender email | omv@grinntec.net |
| Authentication required | Yes |
| Username | {Email of the Gmail account} |
| Password | {Password of the Gmail account *} |
| Primary email | {Recipient of the email} |
| Secondary email | {Recipient of the email} |
- If your use MFA on your Gmail account, which you should, then you need to use an
app passwordinstead of a normal password. You can follow this Gmail guide for that setup - Setup and app password